I’ve spent hours and hours trying to put false eyelashes on. In fact, Saturday night I thought I should give it my umteenth try, which I did, and it was a disaster. First, I purchased the black glue instead of the clear glue. Then I (by accident) got so much glue on the strip, I went to apply the eyelash with my fingers and I got black glue all over my hands, and face. I was a mess, and I needed to figure out how to get all the glue off of my skin!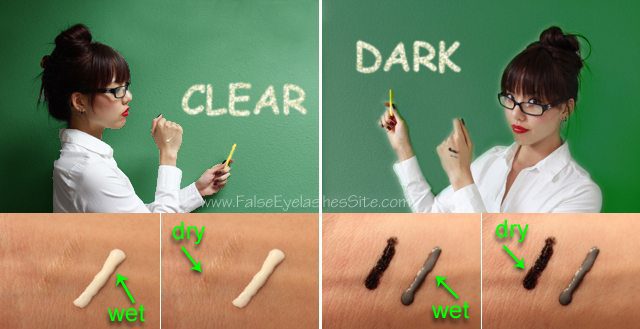
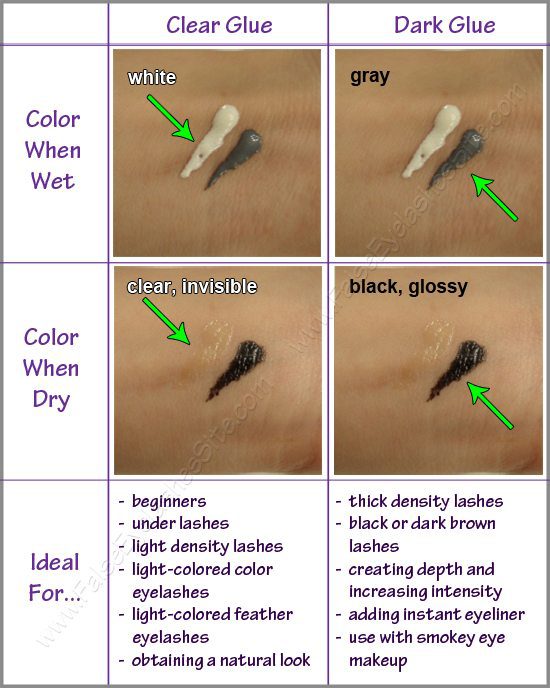
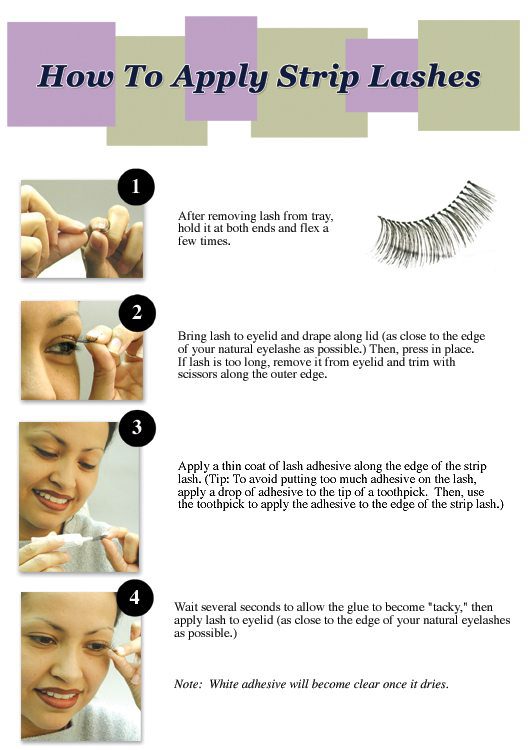
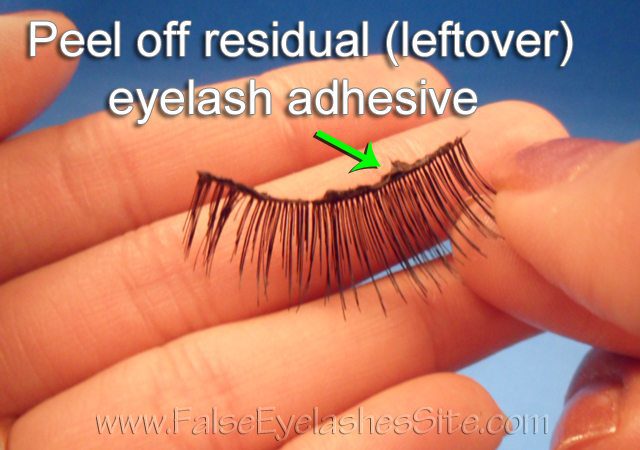
This is pretty much what I did when I applied the glue to the lash strip.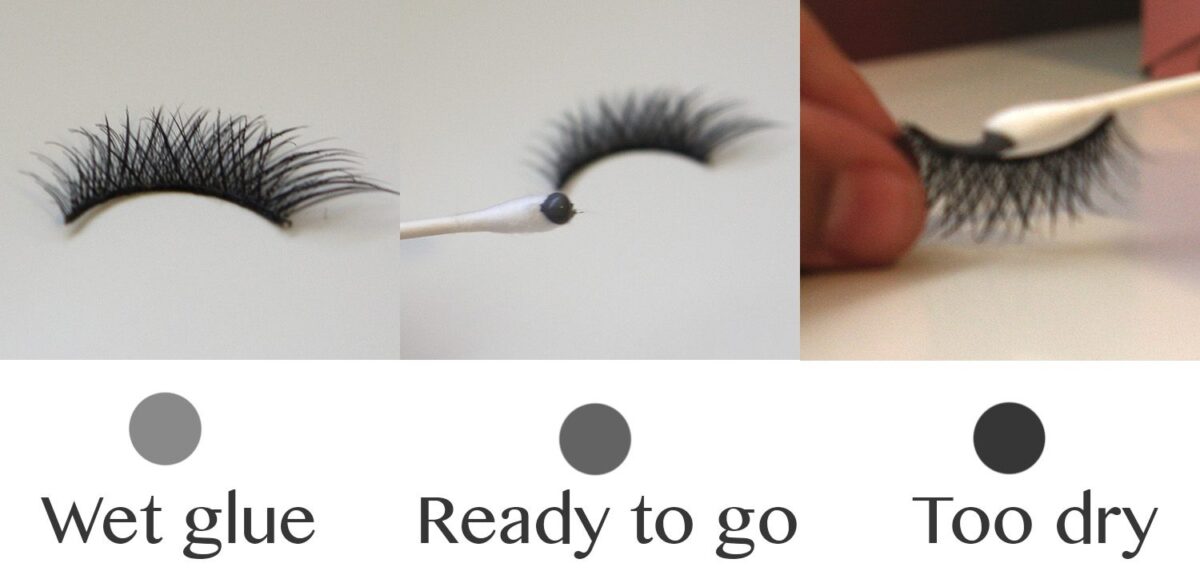
Only, the glue I applied was black, where the glue in this picture is white, and dries clear. So, I might as well start with my tip #1. This is How Not To Apply Glue to False Eyelashes!
These were the various brands of false lashes that were recommended to me:
Huda Beauty Lashes
Ardell Lashes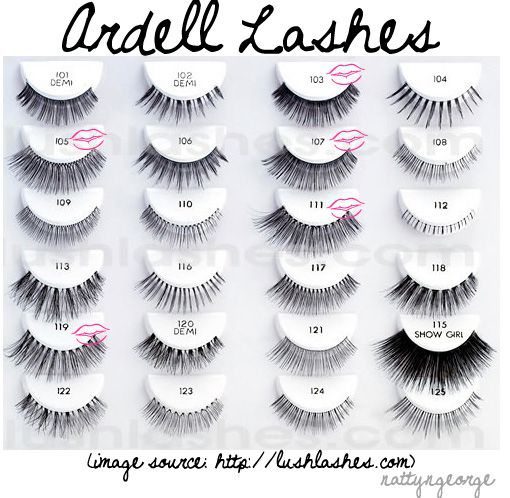
Uro Paris Lashes
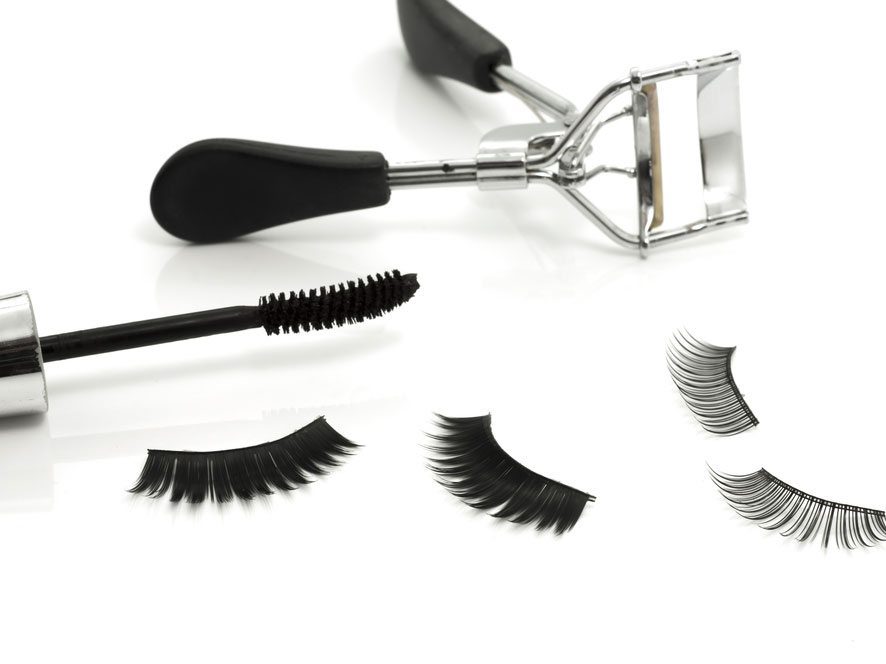
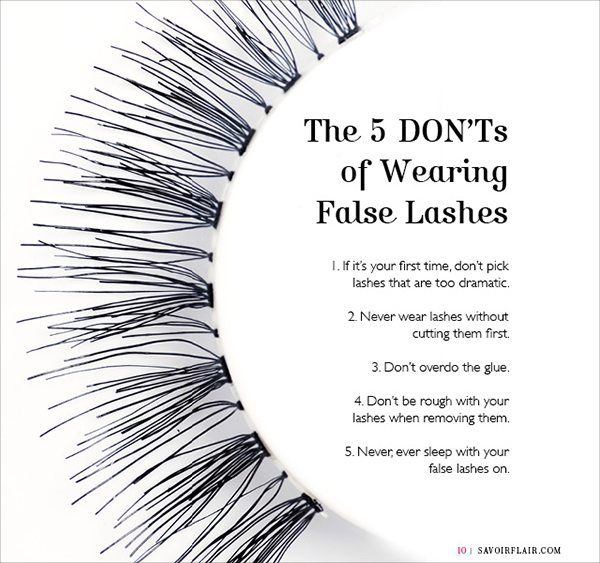
Another important tip #2 for beginners is to use the full strip lashes.
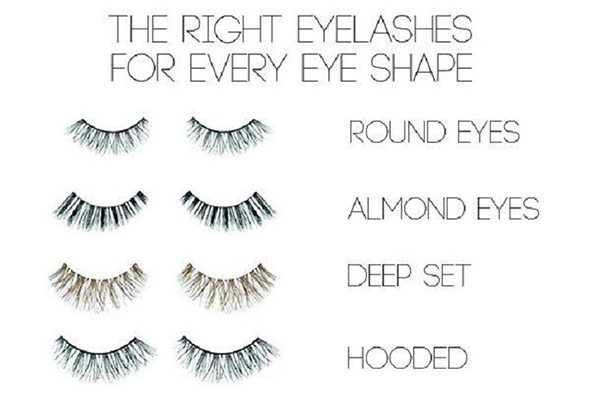
Tip #3 Choose lashes depending on the shape of your eye!

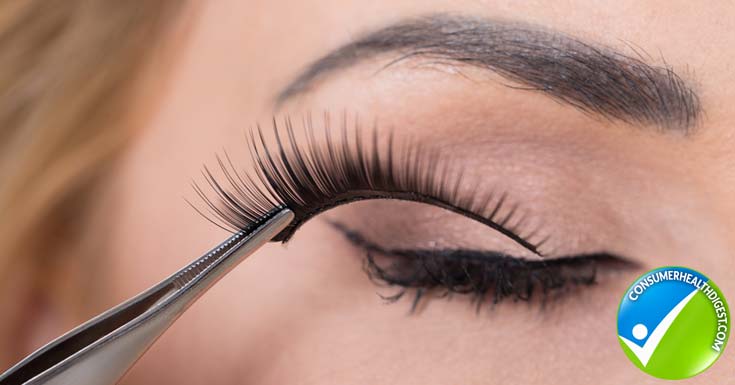
Tip #4 Do Not even try any of these lashes if you are a beginner!
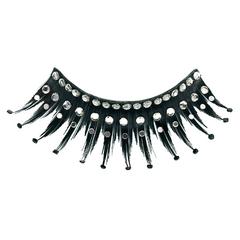
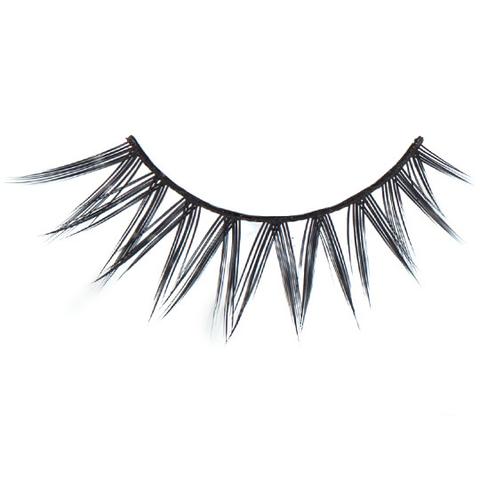
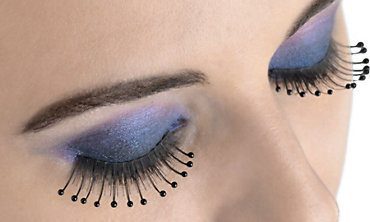
These lashes are a no no if you haven’t mastered eyelashes 101.
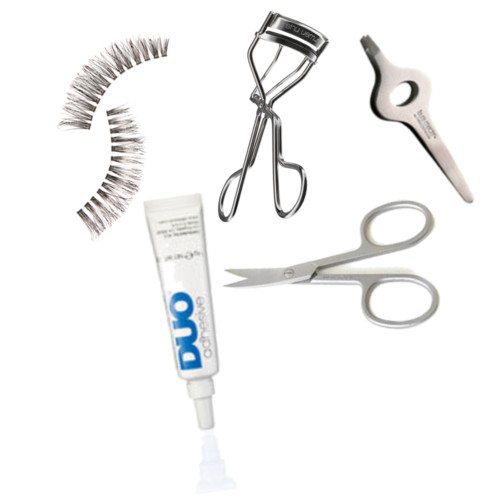
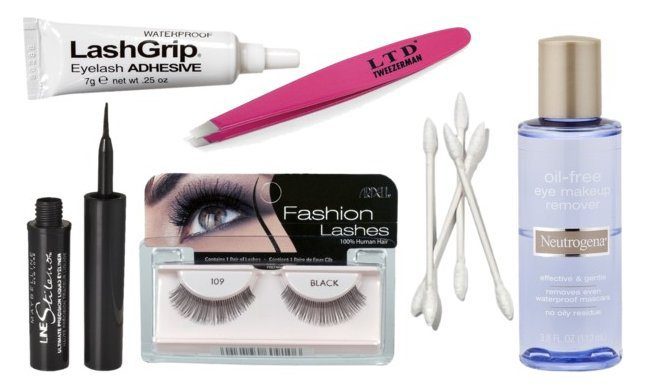
You will need (aside from the false lashes) :
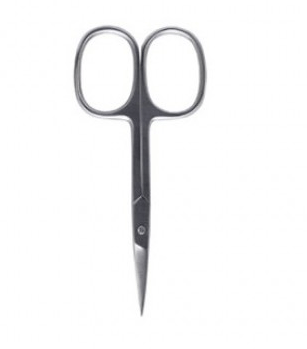
scissors
glue
an eye lash curler
eye liner
mascara
eye lash
tweezers
cotton swabs like Q-tips
Now we are ready ( and that includes me) to begin.
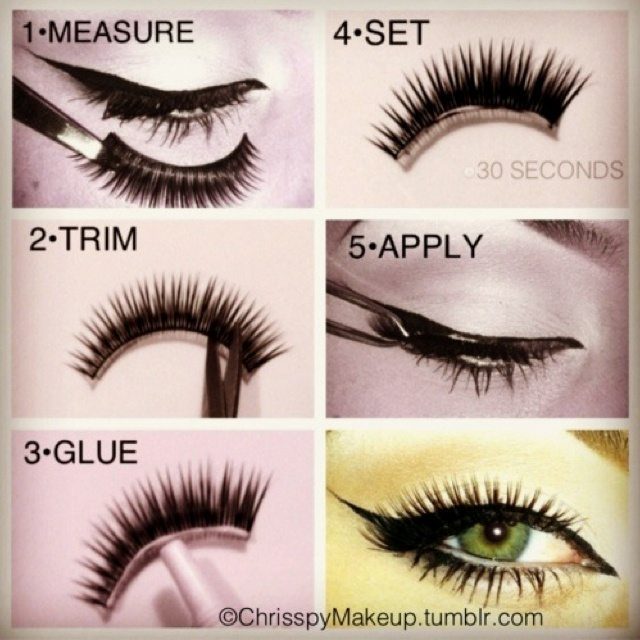
STEP ONE MEASURE AND TRIM
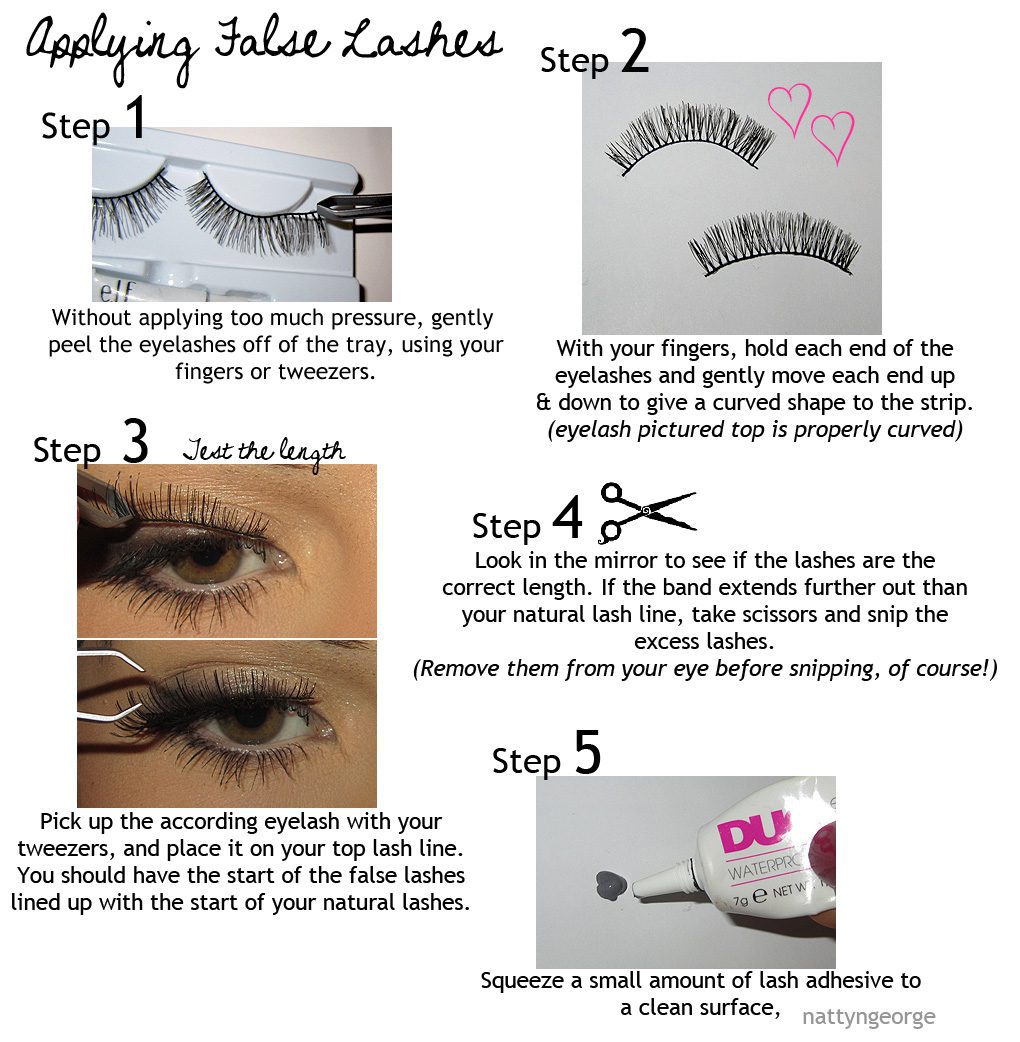
False eyelashes are made to fit a generic eye. As we all know, there is no such thing as a generic eye, a one size fits all. Our eyes come in many shapes and sizes. So we need to measure the eyelash to make certain that the lash fits our eye shape and size. If it doesn’t fit, you will need to cut it to fit.
You take your small nail scissors, and snip the outside edge of the lash. It must be the outside edge, never the inside corner!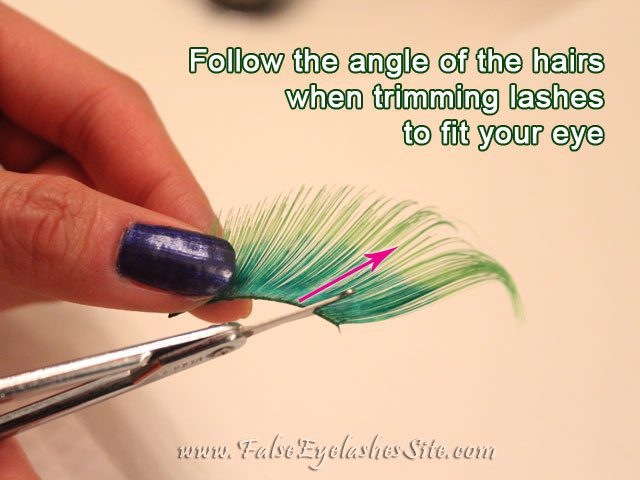
AT THIS POINT YOU CAN CURL YOUR NATURAL EYELASHES WITH YOUR EYELASH CURLER AND PUT SOME MASCARA ON. THIS WILL HELP WITH THE FALSE LASH APPLICATION. THIS IS OPTIONAL-TOTALLY UP TO YOU IF YOU CHOOSE TO DO THIS STEP.
STEP TWO BENDING THE LASHES TO FORM A” C.”
We can not put the lash on the way we get it, because it is straight. We must bend and mold the lash to create a curve which will mold the lash to the eye shape. This step causes the lash to stay glued down and in place. There are several ways we can do this.
We could bend the lashes in half
or we can wrap the lash around our finger
If your finger doesn’t work, wrap the lash around a pencil
Whichever way works for you, get rid of the straightness, mold and curve the lash and make it fit! This step alone should make the rest of the process easier to do.
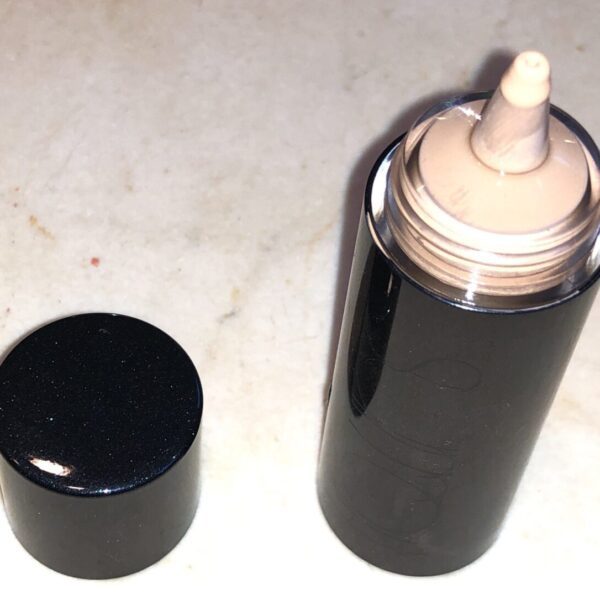
APPLY A GOOD QUALITY GLUE
You want your lashes to last, so it is important that the glue holds for a long time. For the best stay on lashes use Duo Lash Adhesive.
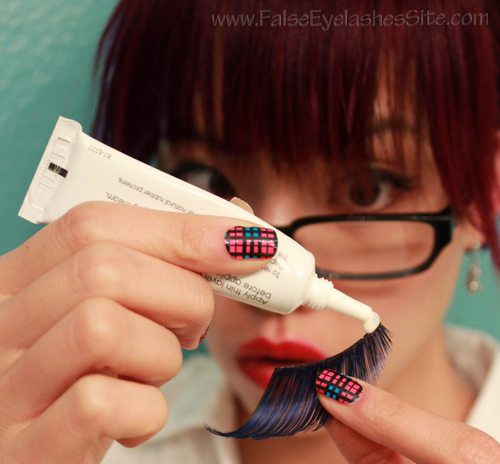
If your hand is steady you can squeeze the glue straight from the tube onto the strip. I don’t recommend this because, as was my case, the glue got all over the lashes, me, my hands, my face, and even my feet! Needless to say, there was a monster of a mess in my bathroom!
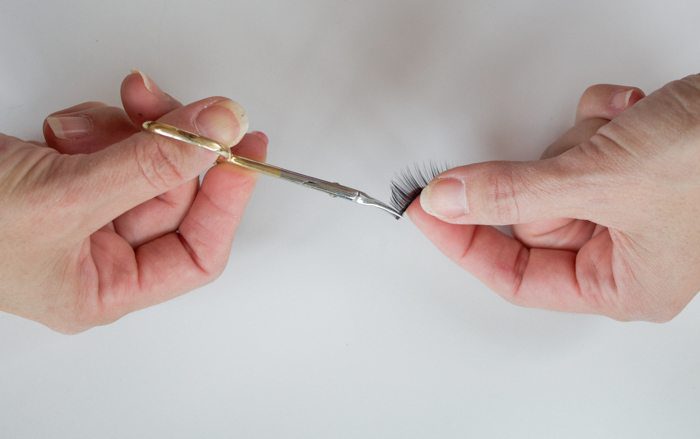
Tip #5 You can put the glue on the reverse end of the tweezer handles.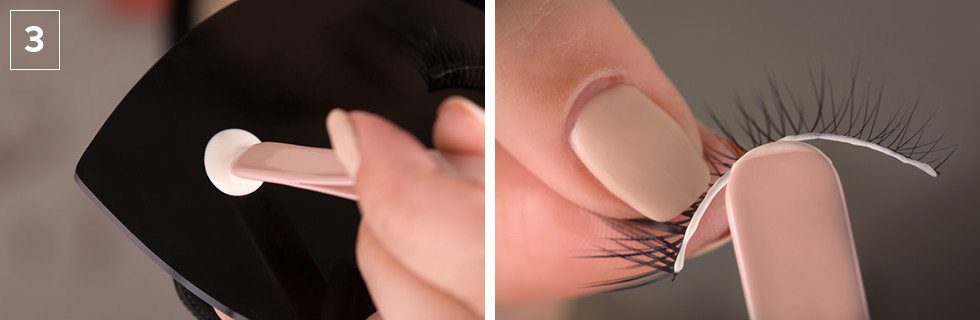 Then glide the handle across the strip. Make sure you put extra glue on both the inner and the outer corners so the glue won’t unstick when you blink! Then wipe the handle of the tweezers with some makeup remover to get the glue off.
If you need the tweezers to hold the lash while you put the glue on, use a cotton swab (Q-tip) to swipe the glue on, and throw it out when you are finished.
WAIT ABOUT 10-20 SECONDS
Wave it in the air!
Blow on it!
The glue needs to feel tacky for the lashes to stick properly, it keeps the lash from slipping when you are placing it.
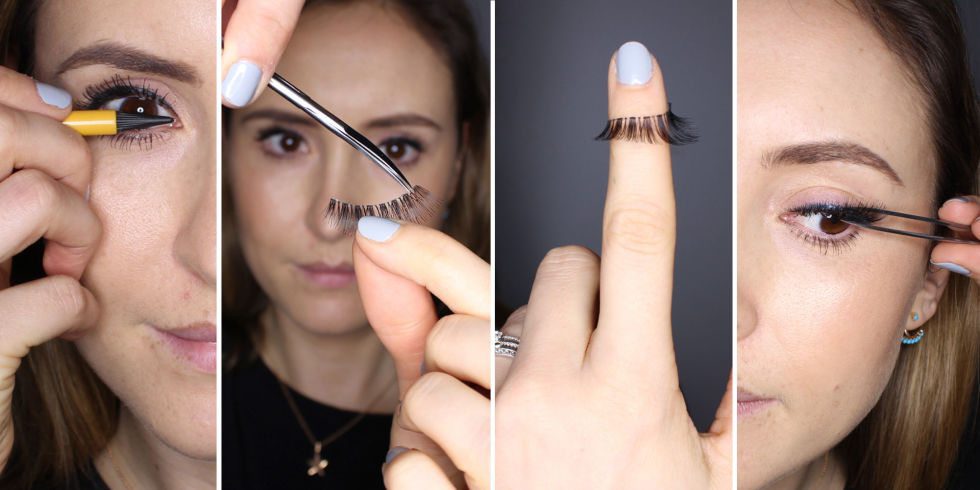
AIM FOR THE BASE OF YOUR NATURAL LASH LINE, RIGHT ON TOP OF YOUR REAL LASHES.
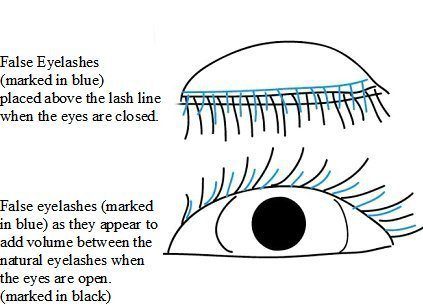
TIP #6 THE LASHES SHOULD BE POINTED UP WHEN ATTACHING THEM TO THE LASHLINE!
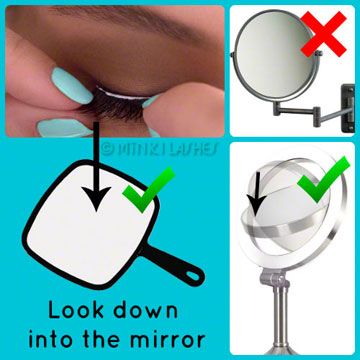
TIP #7 YOU SHOULD BE LOOKING DOWN, INTO A MIRROR, NOT STRAIGHT AHEAD.
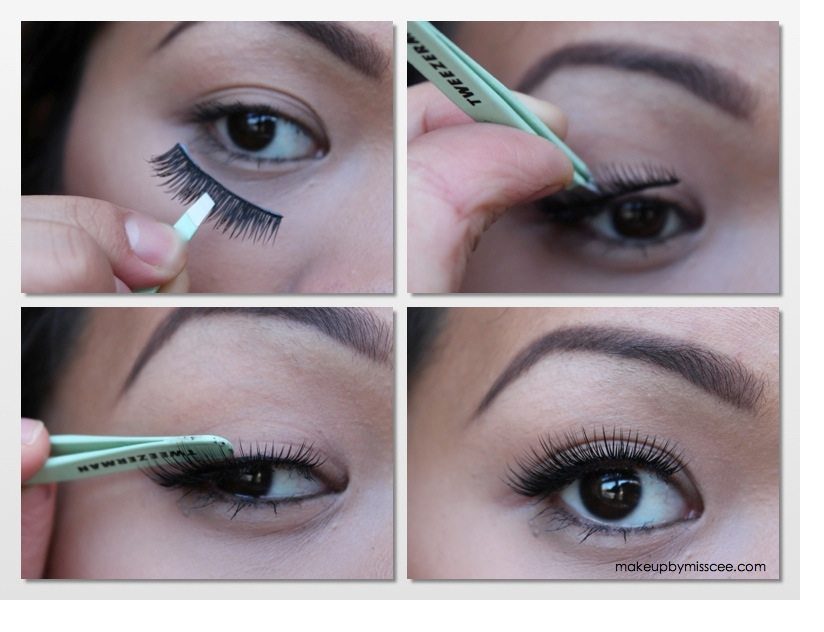
Place it, center of false lash with center of natural lash-do this first. Then secure the outer and inner corners. Secure the lashes with the handle of the tweezers by pressing on the lashline.
Do not touch the eyelid at all. You will be using the clear glue, so no worries if you get a drop on your skin!
Then use your mascara to help integrate your natural lashes with the false lashes. And apply an eyeliner to cover the strip.
IF YOU SEE A GAP DO NOT START OVER!
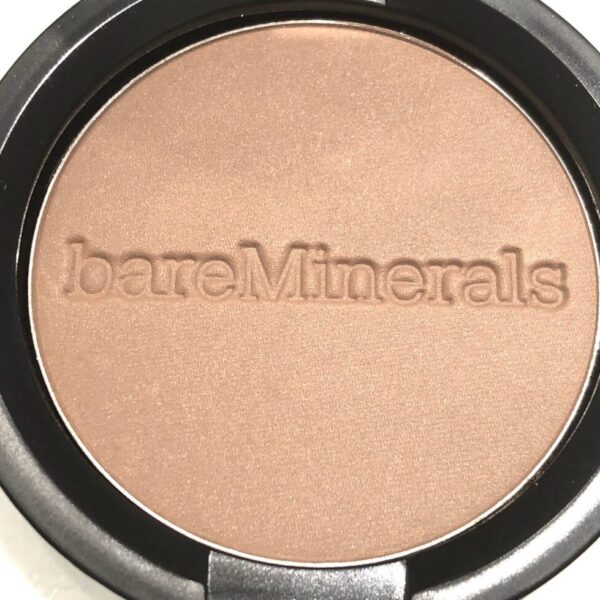
Use a black matte eye shadow as an eye liner to hide the gap, and this will also make the glue dry faster.
BY NOW, HOPEFULLY, WE’VE ALL GOTTEN THE LASHES ON. I HOPE YOU DID IT! BUT, HOW ARE WE SUPPOSED TO GET THEM OFF?
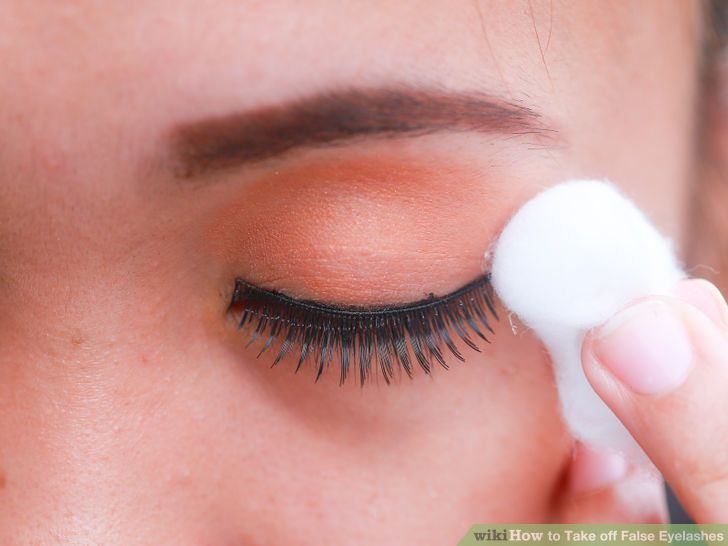
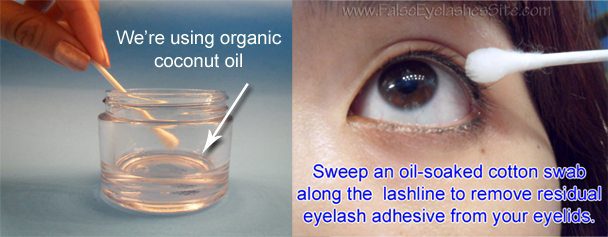
Apply baby oil, or coconut oil onto eye lashes and massage the lashes until the adhesive softens.
Dip the cotton in makeup remover and pat on lashes. Wait until you can gently pull the lashes from the outer corner and the strip comes free.
Once the false lashes are cleaned and adhesive free, store them back in the case they came in. They should be good for 5 or 6 more wears!
I think with practice and patience we should all be able to successfully apply false eyelashes. How about you? Is it easy for you to apply the lashes? Do you have some advice for us to be successful so that we can enjoy wearing false lashes? If you do, please share with all of us in the comment section below.
You Are Awesome!
xoxoxo
Sookie


